OK, small update:
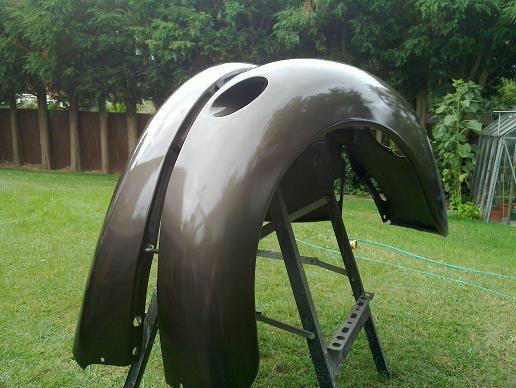
Decklid painted, no real problems, although I did sandblast the slats as they were too fiddly to sand nicely.
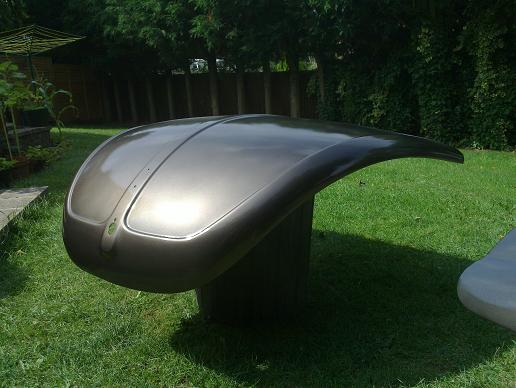
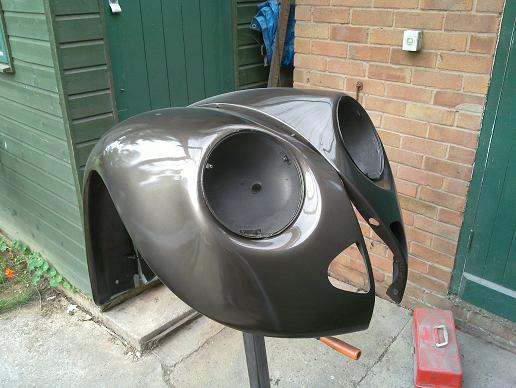
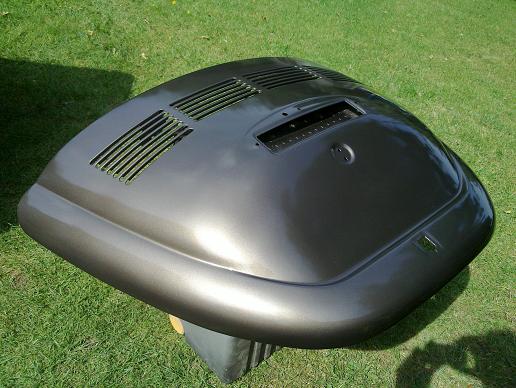
Bonnet finally painted. I've done this 3 times now! First time there was some striping visible in the colour coat as the passes weren't wet enough to flow into each other nicely. Then I got a really good second colour/clear coat and left it in the sun for a few hours to dry before putting it on some cushions in the conservatory just to have it out of the way but they left imprints all over the bonnet! I had to wet sand it all back and paint for a third time, I'm not doing it again!!
I'm working on the doors now and I've found out why somebody had put a gold pinstripe under the normal sidetrim. They had drilled one of the doors in the wrong place and the stripe was to cover it up! So, filler removed and the extra trim clip holes were welded up. Another useful tip: hold a piece of copper against the back of the panel and the weld won't blow through. I also had to repair a few local bits of the door bottom and the copper strip trick also worked well to stop the weld melting away the metal at the edges.
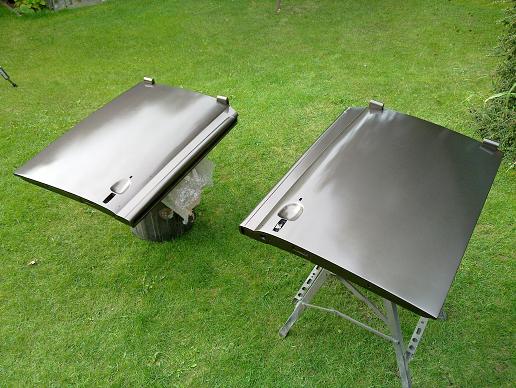
Doors painted...
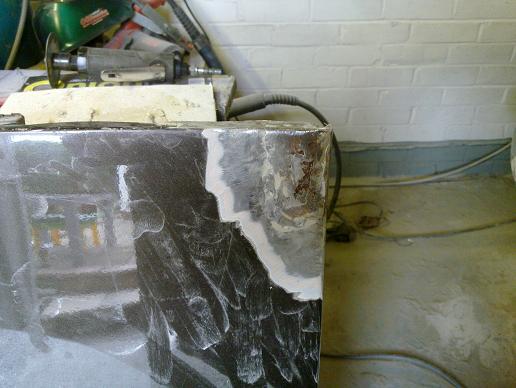
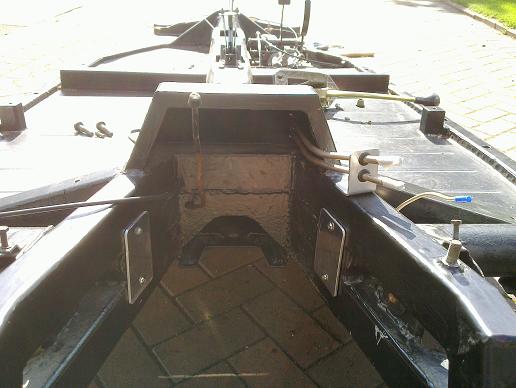
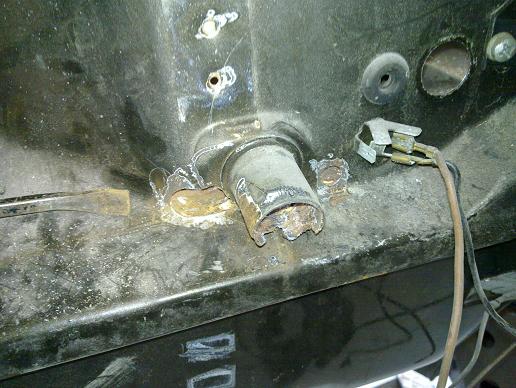
More rust uncovered! This is the drain tube from the scuttle area by the wipers, it's a well known rust trap in 1303s so I wasn't too surprised. Repair from the inside of the car was the easiest way to go. Here I have opened out the rusty areas ready to weld new sections in.
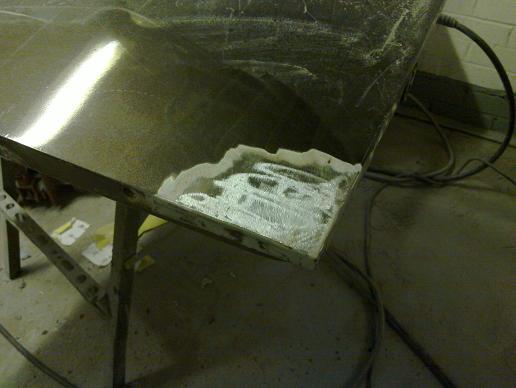
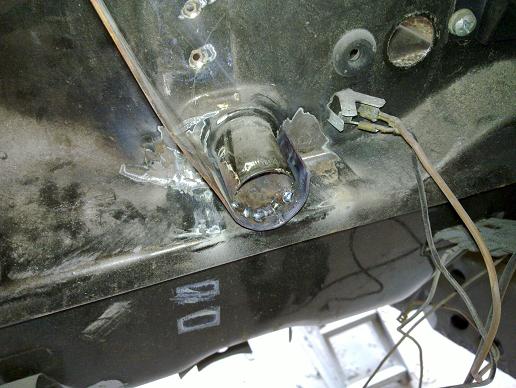
To repair the tube I decided to use another trick I saw, bend some copper strip around the part and weld straight onto the strip creating the new section.
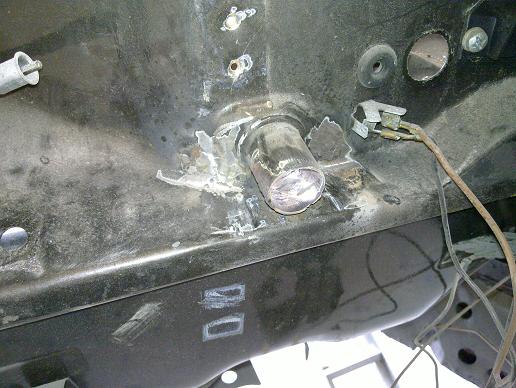
The outside surface is smooth (as it went straight on to the copper surface) but the inside needed some work with the die grinder . All good in the end though!
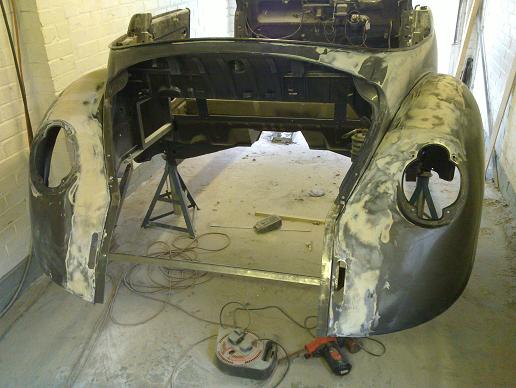
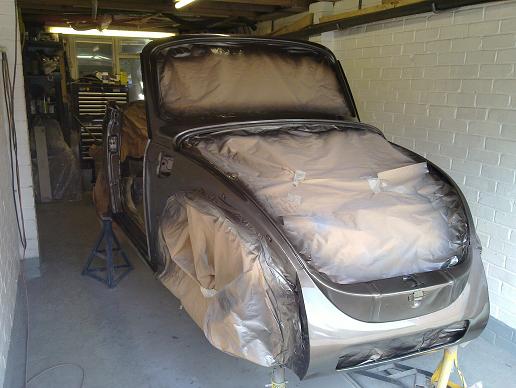
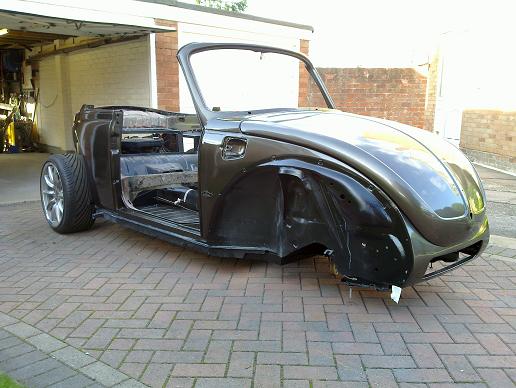
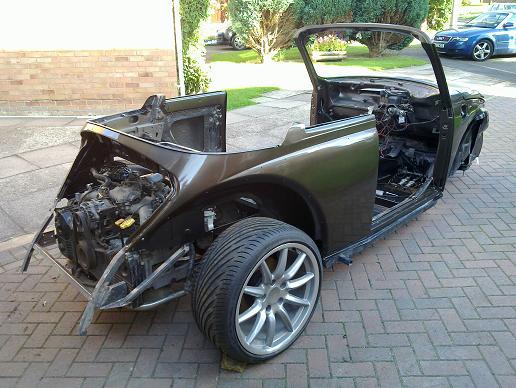
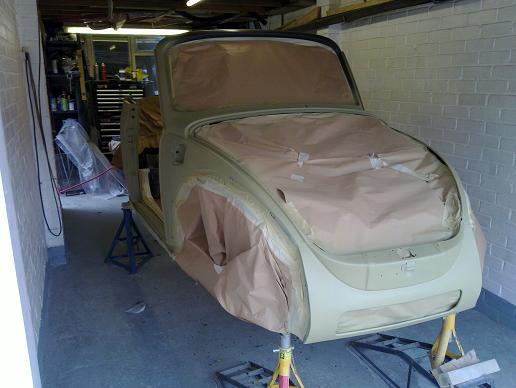
I've been busy doing minor bodywork too getting the main shell ready for paint, nearly there!
Another good day today!
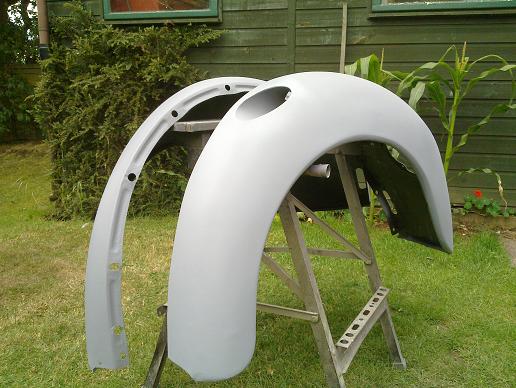
Body now etch primed..
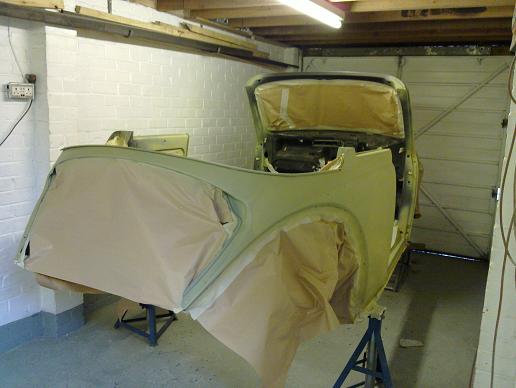
and two coats of high build primer!

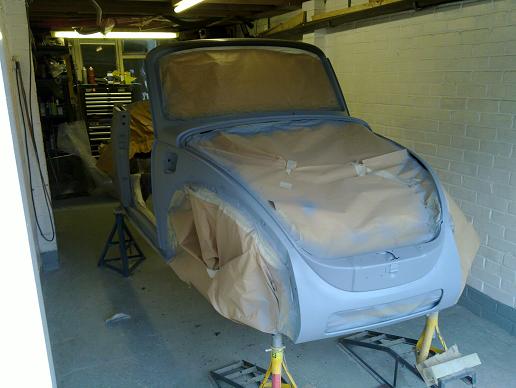
next job to wet sand this back ready for colour...